
Last updated November 21, 2026
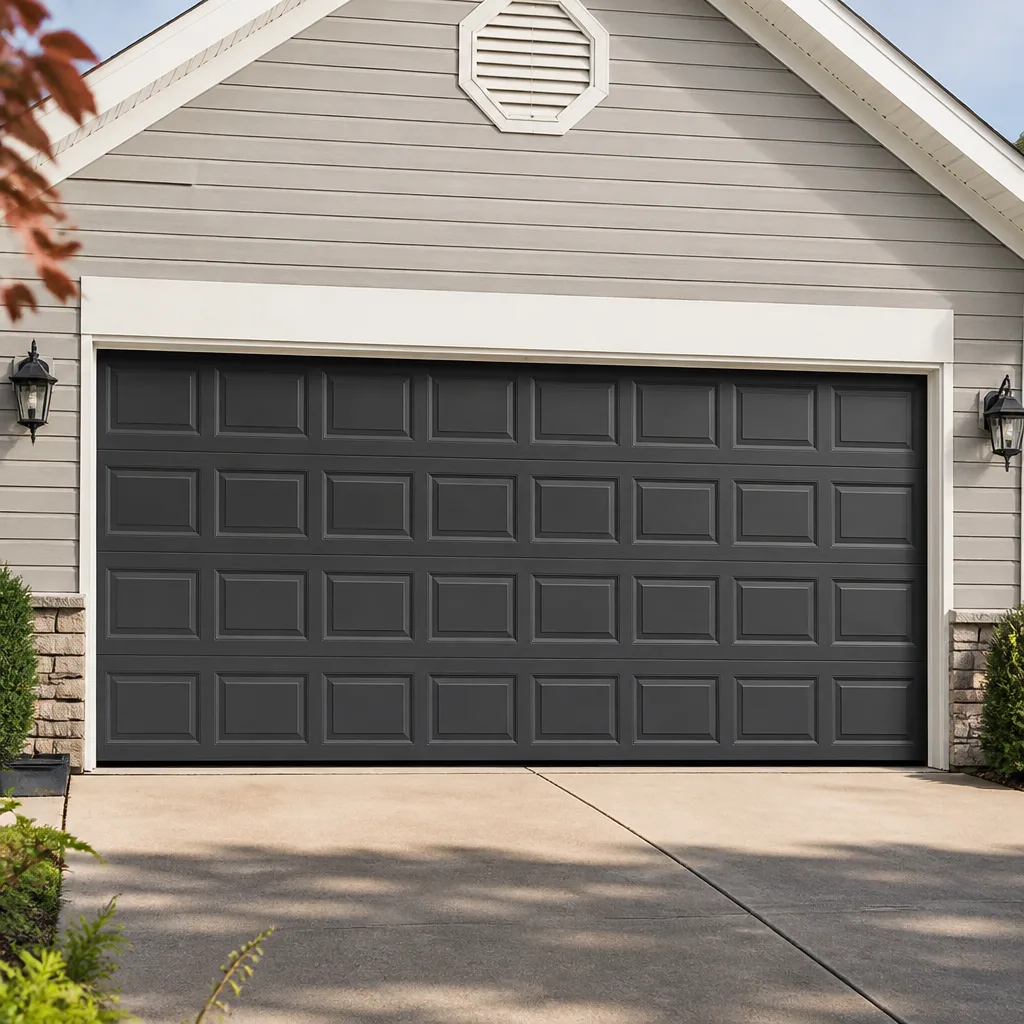 Raised-panel steel
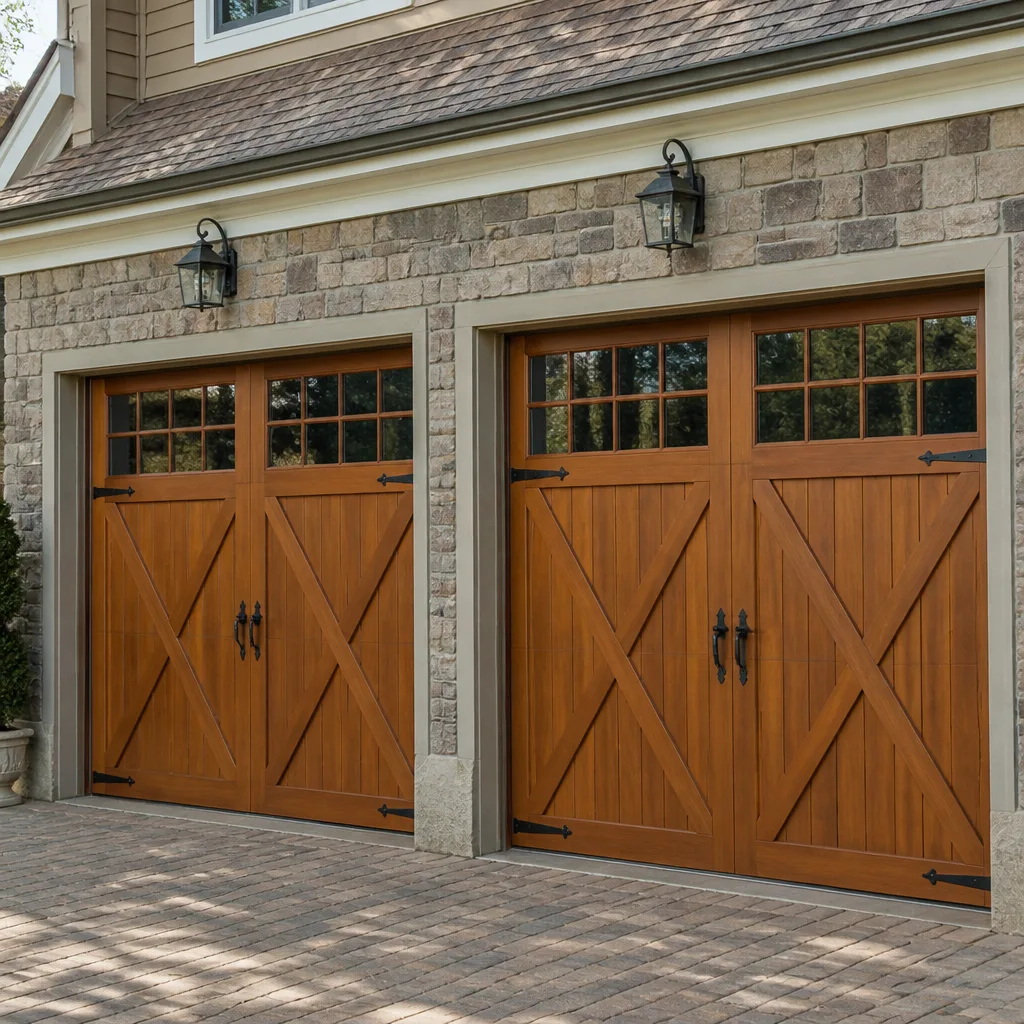 Carriage house
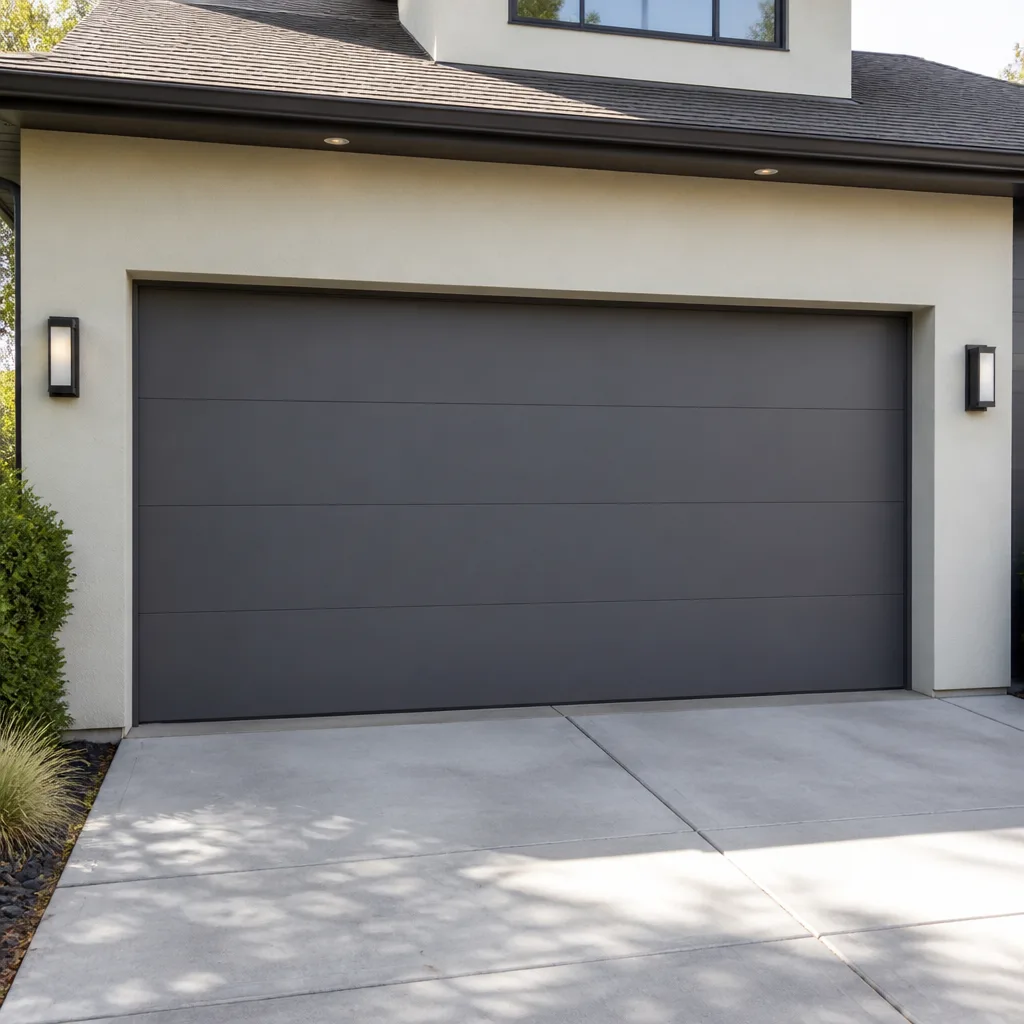 Modern flush
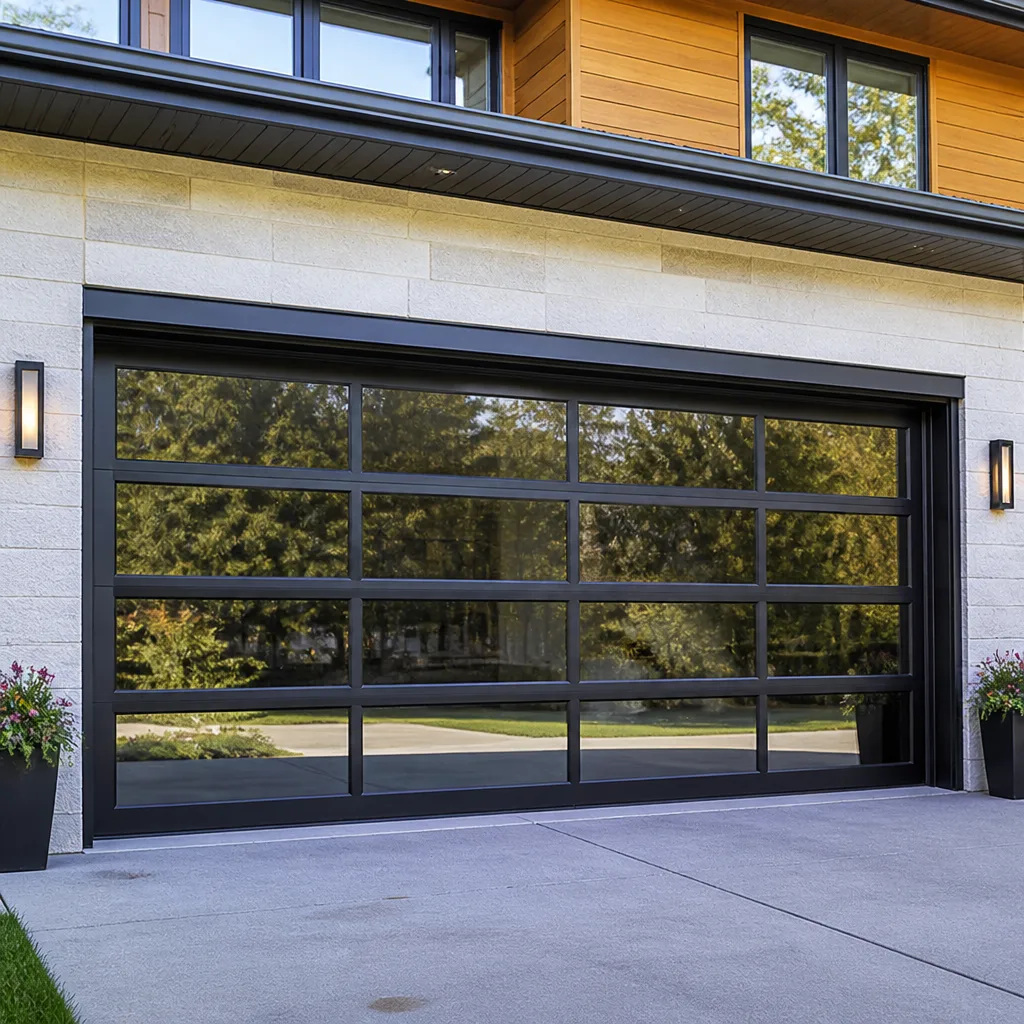 Full-view glass
 LiftMaster openers
 Chamberlain openers
Full 25-point door and opener safety check with every visit - springs, cables, rollers, tracks, and your LiftMaster or Chamberlain opener included
You get a price before we start. It does not change when the pro arrives.
Get your free estimateGarage Door Repair Maintenance Checklist for Carrick Homeowners
Most garage door maintenance checklists you’ll find online are alphabetical, or they list ten tasks with no sense of which one actually matters. That’s the wrong order for a Carrick garage. The number-one cause of premature torsion spring failure in Pittsburgh-area garages isn’t wear from heavy use – it’s under-lubrication during the cold months, when grease stiffens and the coils work harder on every single cycle. A spring that should last years can start to fatigue early simply because nobody greased it in November. So this checklist is sequenced by failure risk, not convenience. You’ll learn which tasks genuinely prevent emergencies, which lubricants belong on which components, and which items you should never touch yourself.
Quick Answer
A garage door maintenance checklist for Carrick homeowners should prioritize lubrication of springs and rollers before cold weather, a 60-second balance test to catch spring wear early, and a bottom-bracket cable inspection that most people skip. Grease springs and rollers with lithium grease, keep it off plastic-nylon tracks, and call a professional for anything involving springs, cables, or the torsion assembly. Do these checks twice a year and you’ll catch most failures before they strand your car.
Styles & brands we work with
- Raised-panel steel
- Carriage house
- Modern flush
- Full-view glass
- LiftMaster openers
- Chamberlain openers
Table of Contents
- Why This Checklist Is Ordered by Failure Risk
- Lubrication: Which Grease Goes Where
- The 60-Second Balance Test
- Cable Inspection: The Points Homeowners Miss
- Weatherstripping in Pittsburgh’s Humidity Swings
- What’s Safe for You vs. What Needs a Pro
- Your Twice-a-Year Carrick Schedule
- Opener and Hardware Checks
Why This Checklist Is Ordered by Failure Risk
Not all maintenance tasks are equal. Replacing a worn bottom seal is cheap and low-stakes. Ignoring a fraying cable is neither. When we build a checklist for a Carrick homeowner, we start with the tasks whose failure causes the most expensive, most dangerous, or most disruptive outcome – and work down from there. A door that won’t close because of a bad seal is an annoyance. A door with a snapped torsion spring is a several-hundred-dollar repair and a car trapped inside.
The order below reflects that logic. Here’s the priority ranking you should keep in mind:
- Lubrication of springs and rollers – prevents the wear that leads to spring failure, especially in cold weather.
- Balance test – the fastest way to catch a weakening spring before it breaks.
- Cable inspection – fraying cables are a safety hazard and a sign of deeper problems.
- Weatherstripping check – affects energy, moisture, and pest intrusion.
- Opener and safety-reverse test – keeps the automatic reversal working.
- Hardware tightening – loose bolts rattle and accelerate wear.
- Track alignment and roller condition – the finishing touches.
If you only do the first three items twice a year, you’ll prevent the majority of emergency calls we see across Carrick. The rest matter, but they’re the difference between a door that works well and one that works perfectly – not the difference between a working door and a broken one. When a spring does let go despite your best efforts, that’s a job for a dedicated Garage Door Repair Carrick specialist rather than a general handyman.
Lubrication: Which Grease Goes Where
Lubrication is the highest-return task on this list, and it’s also the one most homeowners get wrong. The mistake isn’t skipping it – it’s using the wrong product on the wrong component, or over-lubricating the parts that should stay dry. Here’s the component-by-component breakdown we give every Carrick homeowner who asks.
Springs: Lithium Grease, Yes
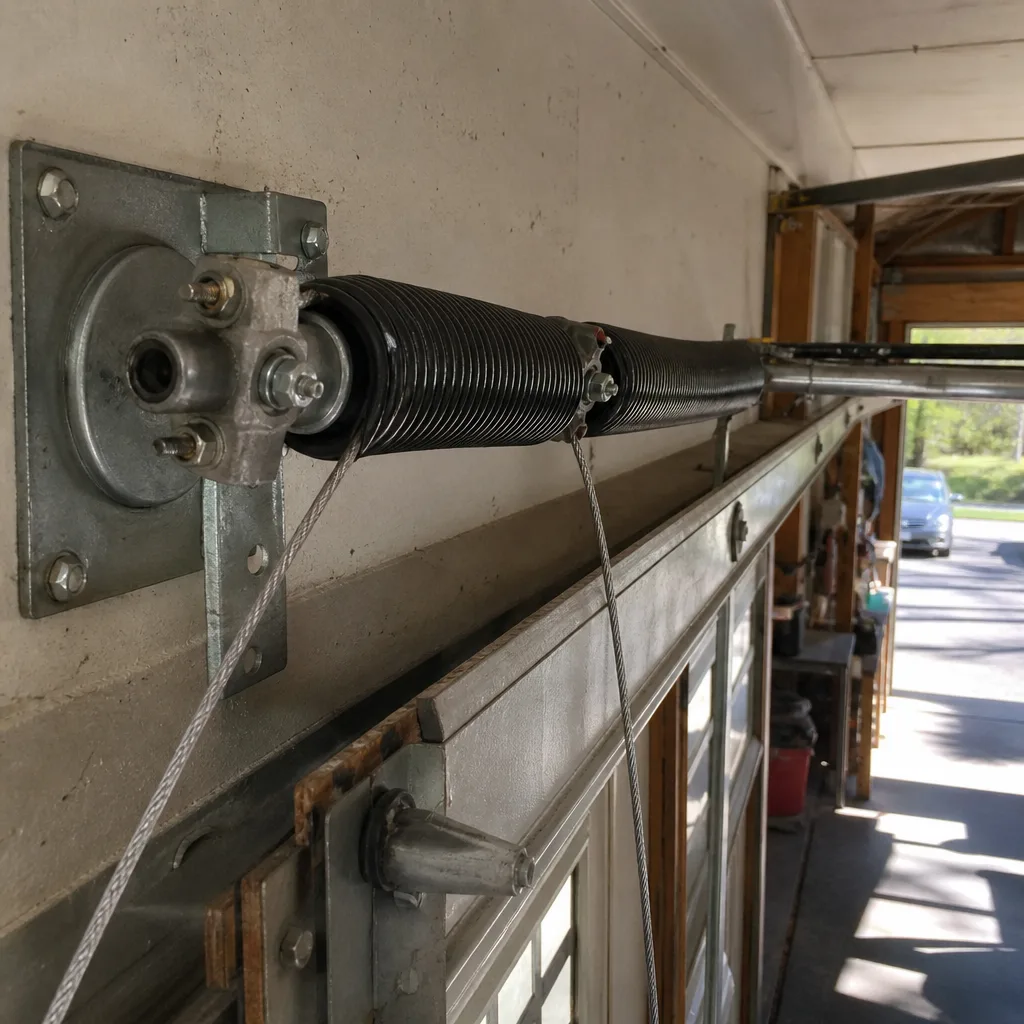
Steel torsion and extension springs benefit from a light coat of white lithium grease. Apply it when the door is fully closed and the springs are under minimal load. The grease does two things: it reduces friction between the coils as they wind and unwind, and it displaces moisture that would otherwise let rust start. In a Carrick garage, where winter temperatures swing hard, that lubrication also keeps the coils moving smoothly when cold makes the metal stiffer.
Rollers: Lithium Grease on Metal, Dry on Nylon
Metal rollers with steel bearings take the same white lithium grease. Nylon rollers do not need grease and can actually attract grit if you lube them. A quick wipe-down is enough for nylon. If you’re not sure which type you have, look at the roller wheel: shiny metal means grease it, a matte plastic look means leave it alone.
Hinges and the Track: Light Oil or Silicone
Hinges take a few drops of light machine oil at the pivot points. The track itself should stay clean and dry – never grease the track. Grease on a track collects dust and grit, which then grinds against the rollers. Wipe the track with a dry cloth instead. This is the single most common lubrication error we correct on service calls.
What Never Gets Grease
- Plastic-nylon tracks – grease attracts grit and causes binding.
- The opener rail’s drive screw (on belt and chain openers) – follow the manufacturer’s guidance, usually a specific lube, not general grease.
- Photoelectric safety sensors – keep the lenses clean and dry, never greasy.
- Weather seals – silicone spray only, and sparingly.
If you’re running a LiftMaster or Chamberlain opener, the rail and drive components have their own maintenance requirements, and we cover those in our guide to garage door opener repair.
The 60-Second Balance Test
The balance test is the single most valuable manual check you can do, because it reveals spring wear before it turns into an emergency. A balanced door needs almost no effort to lift by hand and stays put when you let go halfway up. An unbalanced door is telling you a spring is losing tension – and a spring that’s losing tension is a spring that’s closer to breaking.
Here’s how to run it safely:
- Disconnect the opener. Pull the manual release cord so the door is on its tracks alone, not driven by the motor.
- Lift the door halfway by hand. Use the handle or a solid panel edge. It should move smoothly with moderate effort.
- Let go at the halfway point. A balanced door stays in place. A door that drifts down has weak springs. A door that drifts up has springs that are too tight.
- Test the full travel. Raise and lower the door fully by hand once. It should feel even – no sudden heavy spots, no grinding.
- Reconnect the opener. Pull the release again to re-engage the trolley.
If the door won’t hold its position at all, or if it feels alarmingly heavy, stop and call a professional. Don’t try to adjust the springs yourself – that’s a job that requires the right tools and a real understanding of torsion tension. The balance test is safe for any homeowner; adjusting what it reveals is not. If the test shows weakness, book a garage door repair visit rather than experimenting.
Cable Inspection: The Points Homeowners Miss
Cables are the part most people look at wrong. Homeowners check the drum side – the round spool at the top corner where the cable winds – because that’s the visible, obvious part. But the failure that matters usually starts at the bottom bracket, where the cable anchors to the door’s lower corner. That’s the hidden end, and it’s where fraying, kinking, and slack develop first.
When you inspect cables, check both ends:
- Drum side (top corners): Look for the cable sitting evenly in its groove. A cable that’s jumped the drum or is wrapped unevenly is a problem.
- Bottom bracket (lower corners): Look for frayed strands, rust, kinks, or a cable that’s gone slack. This bracket is under extreme tension – never put your hand near it while the door is under load.
- Along the length: Run your eyes down the cable. Any bird-caging, broken strands, or sharp bends mean replacement.
- The anchor point: Check that the cable end is secure at the bottom bracket and not pulling loose.
Cables are a safety-critical component. A snapped cable can whip with enough force to cause serious injury, and a door that loses a cable can drop. This is one inspection where you look but don’t touch. If you see fraying or slack, keep the door closed and call us. We handle cable and spring work as a dedicated service because it’s the most hazardous part of the job – and the part a generalist shouldn’t improvise. Our technicians have up to 12 years of experience with this exact work.
Weatherstripping in Pittsburgh’s Humidity Swings
Carrick’s weather puts weatherstripping through real stress. Summer humidity swells wood frames and softens some seals; winter cold contracts everything and makes vinyl brittle. The result is a seal that fails at the edges first – usually the bottom corners and the sides – not evenly across the door. If you check only the middle of the bottom seal, you’ll miss the failure that actually lets water and cold air in.
Here’s what to check and what to replace:
- Bottom seal (astragal): Look for flattening, cracks, or gaps at the corners. A good seal compresses against the floor with no light showing underneath.
- Side and top seals: Check for gaps where the door meets the frame. Feel for drafts on a cold day – that tells you more than a visual check.
- Threshold: The floor seal should meet the door’s bottom seal evenly. A threshold that’s cracked or missing lets in water and pests.
Sealing Profiles vs. Decorative Trim
Not every strip of rubber you can buy at a hardware store actually seals. A proper bottom seal is a hollow or bulb-style profile that compresses and springs back. Decorative trim that sits flat against the door may look fine but won’t stop air or water. When in doubt, match the profile to your door’s original seal. A Clopay or Amarr door, for example, has a specific seal profile that fits its panel – swapping in a generic strip often leaves gaps. Replace worn seals with the correct profile and you’ll actually keep the weather out.
What’s Safe for You vs. What Needs a Pro
This is where we draw a hard line, because a garage door is a heavy, spring-loaded machine that can hurt you if you don’t respect its stored energy. Here’s the honest breakdown of which tasks are genuinely safe for a homeowner and which should stay with a trained technician.
Safe for Any Homeowner
- Lubricating springs, rollers, and hinges.
- Running the 60-second balance test.
- Visually inspecting cables (look, don’t touch).
- Wiping down the tracks with a dry cloth.
- Testing the safety reverse on the opener.
- Tightening loose bolts and hinge screws with a wrench.
- Cleaning the photoelectric sensor lenses.
Requires a Professional
- Any spring work. Torsion springs store enormous energy. Adjusting, winding, or replacing them requires specific tools, a torque wrench, and safe winding-bar protocol. This is the task that causes the most serious injuries when done wrong.
- Any cable work. Cables are under the same tension as springs. Replace, don’t repair.
- Bottom bracket removal. The bottom bracket anchors the cable under load – never loosen it.
- Track realignment when the door is off its tracks. This can let the door fall.
- Panel replacement on a door under tension. Do the prep first, then a pro handles the swap.
If you’re unsure which side of the line a task falls on, treat it as a pro job. The math is simple: a spring or cable injury is far more expensive than a service call. That’s why we keep spring and cable repair as dedicated services rather than farming them out. When you’re ready to step up to a new door, our garage door installation team handles that as well.
Your Twice-a-Year Carrick Schedule
Two checks a year cover the seasonal extremes that cause the most wear in Carrick. Here’s the schedule that works, and the reasoning behind each timing.
Late Fall (Before the Cold Sets In)
- Lubricate everything that takes grease. This is the most important task of the year. Cold weather stiffens grease, so apply it before the cold, not during. This directly reduces the spring fatigue that cold months accelerate.
- Run the balance test. Catch a weakening spring while you still have time to schedule a repair.
- Inspect cables. Cold makes metal brittle; check for fraying now.
- Test the safety reverse. Cold can affect opener sensors.
- Check weatherstripping. Make sure seals are set before winter drafts.
Spring (After the Thaw)
- Inspect for moisture damage. Humidity after winter can swell frames and soften seals.
- Re-lubricate as needed. A light touch-up on springs and rollers.
- Check the bottom seal. Winter ice and grit take a toll on the astragal.
- Tighten hardware. Seasonal temperature swings loosen bolts.
- Re-run the balance test. Confirm springs held up through winter.
If your door is a LiftMaster or Genie system with app connectivity, also check the opener’s force and travel settings each spring – smart openers sometimes need recalibration after a season of use. A Genie or Chamberlain belt-drive unit tends to run quietly, so listen for changes: new noise is a signal worth investigating.
Opener and Hardware Checks
The opener and hardware are the parts of the system most homeowners interact with and least often maintain. A few checks keep the motor and the door in sync.
Safety Reverse Test
Place a small object (a roll of paper towels works) in the door’s path and close it. The door should reverse on contact with the object, or when the photoelectric beam is broken. If it doesn’t, the safety system needs adjustment – this is a must-fix, not a nice-to-have. It’s also one of the few opener tasks you can safely test yourself.
Force and Limit Settings
If the door strains, reverses while closing, or stops short of the floor, the force or limit settings are likely off. On many LiftMaster and Chamberlain units these are dials on the back of the motor housing; on a Genie they may be in the app. Adjusting them is doable but easy to get wrong – if the door behaves inconsistently after adjustment, call us and we’ll set them correctly. Our technicians are familiar with Raynor and Chamberlain logic as well, so whichever brand you have, the diagnosis is straightforward.
Hardware Tightening
- Check hinge bolts at every hinge – these vibrate loose over time.
- Tighten the roller brackets without over-tightening.
- Confirm the track brackets are secure to the frame.
- Check the opener’s mounting bracket and rail bolts.
Tracks and Rollers
Run a level along each vertical track. A track that’s bent or out of alignment makes the door drag. Replace rollers that are chipped or worn flat – nylon rollers with worn bearing races make a rumbling noise. Keep the track clean and dry, and leave the grease for the springs.
There’s a reason we work across so many brands – Clopay, Amarr, Wayne Dalton, Craftsman, and the rest – because each door and opener system has its own quirks, and a no-guesswork diagnosis saves you a return visit. If a dead opener is the problem, that’s a parts-and-repair job we handle directly.
Common Mistakes to Avoid
- Greasing the tracks. This is the most common lubrication error we see in Carrick. Grease on the track collects grit, which then grinds against the rollers. Keep tracks dry.
- Lubricating a nylon roller. Nylon rollers don’t need grease and will attract grit if you apply it. Metal rollers are the ones that need a light coat.
- Skipping the cold-weather lube. Under-lubrication in November is the top cause of accelerated spring wear in Pittsburgh-area garages. Grease before the cold, not after.
- Checking only the drum side of the cable. The failure usually starts at the bottom bracket, the hidden end. Look at both.
- Adjusting springs yourself. Torsion springs store dangerous energy. This is exactly the work a trained technician should do – not a homeowner with a wrench and a video.
- Replacing the whole door for a single panel. A damaged panel or a worn bottom seal usually calls for targeted repair, not full replacement. Ask what can be fixed before you commit to a new door.
- Ignoring a struggling opener. A door that reverses on its own or strains near the floor is telling you the force settings are off – fix it before it fails.
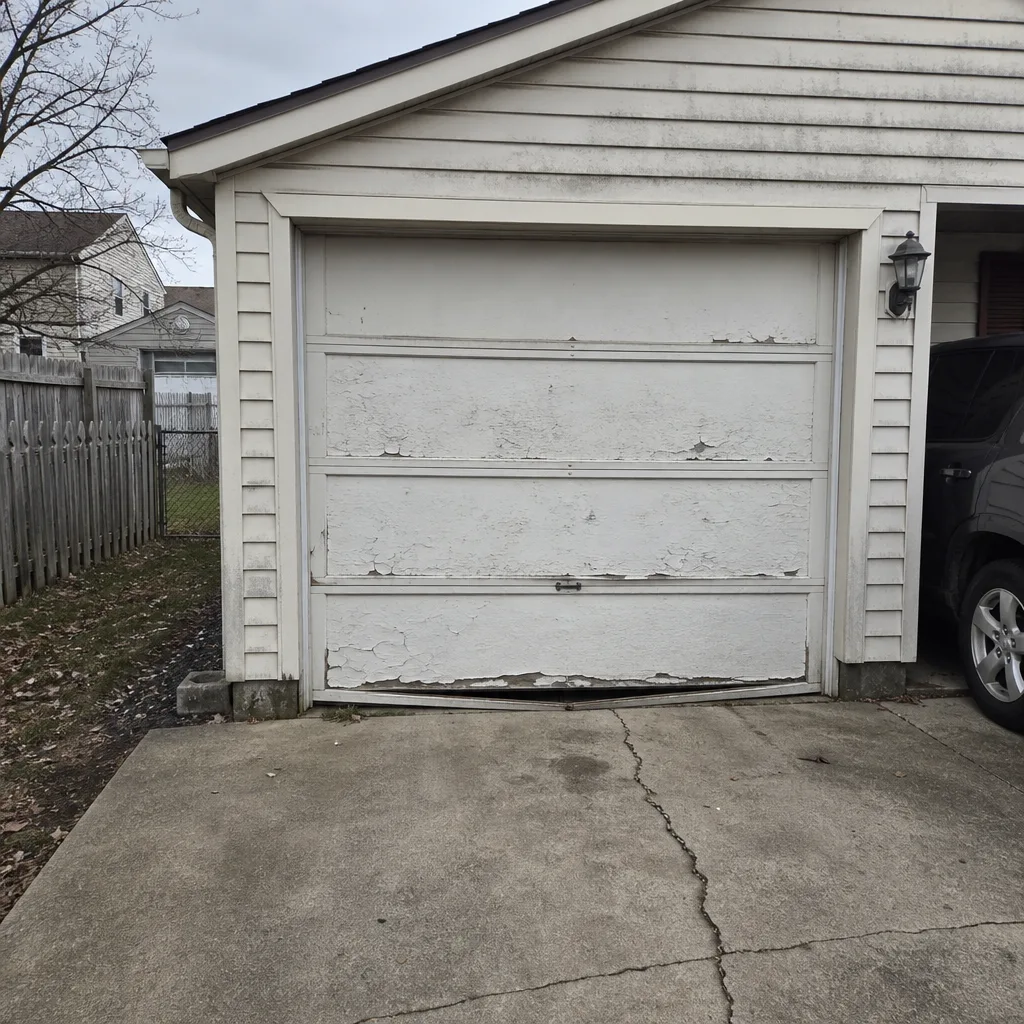
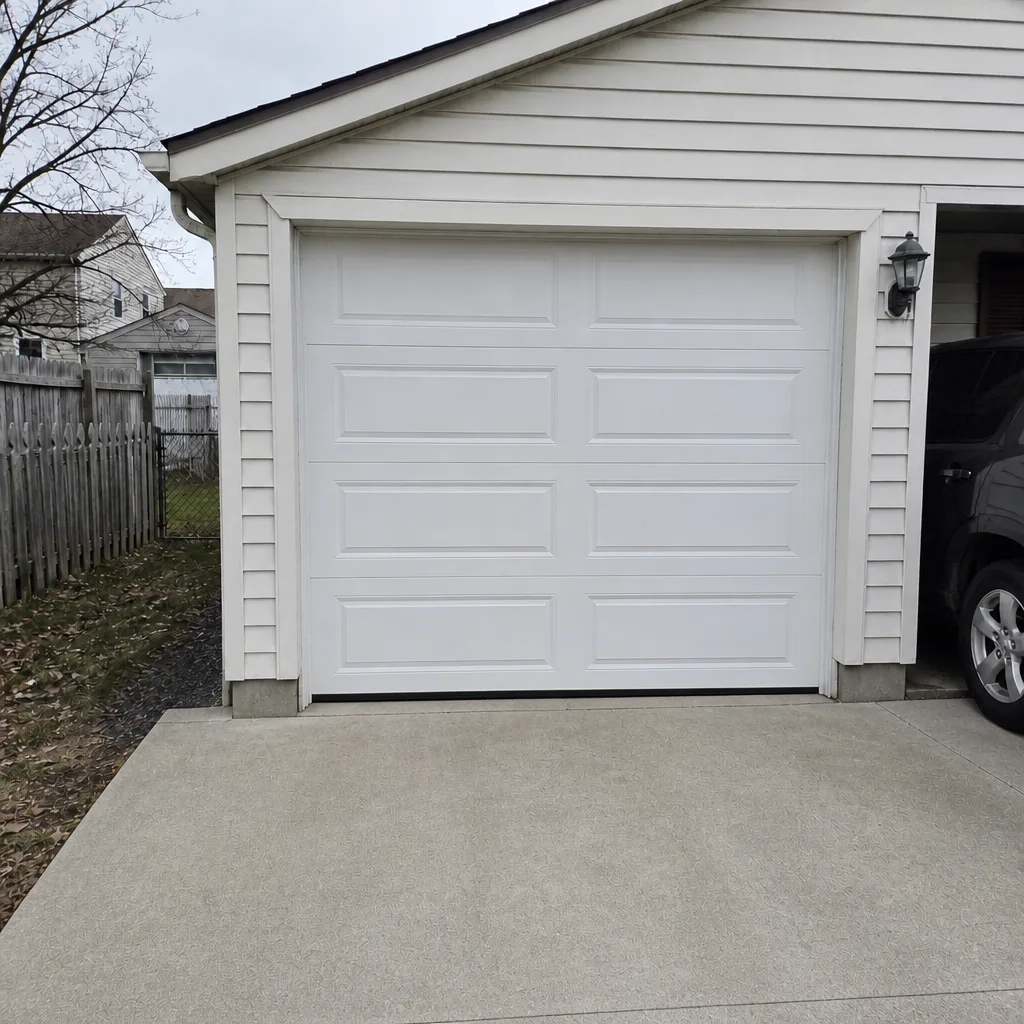
See the difference
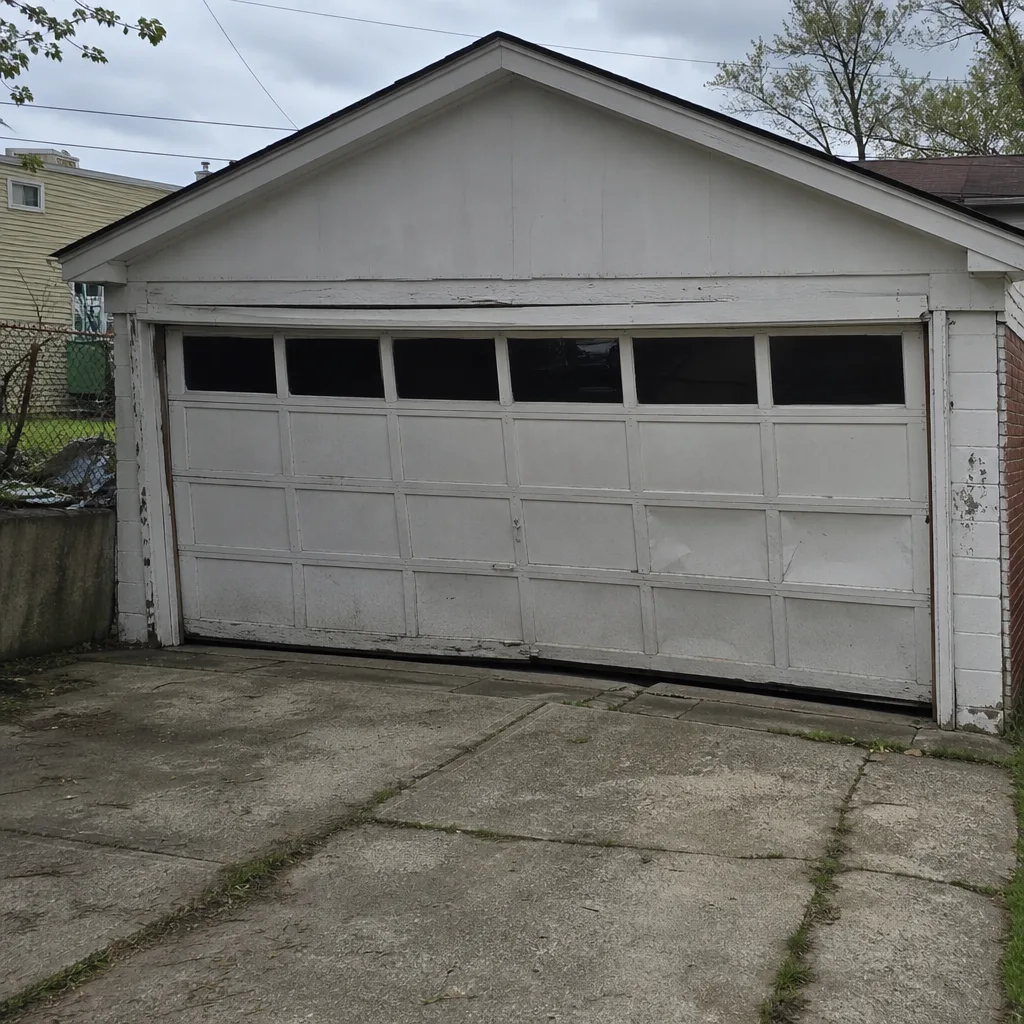 Before
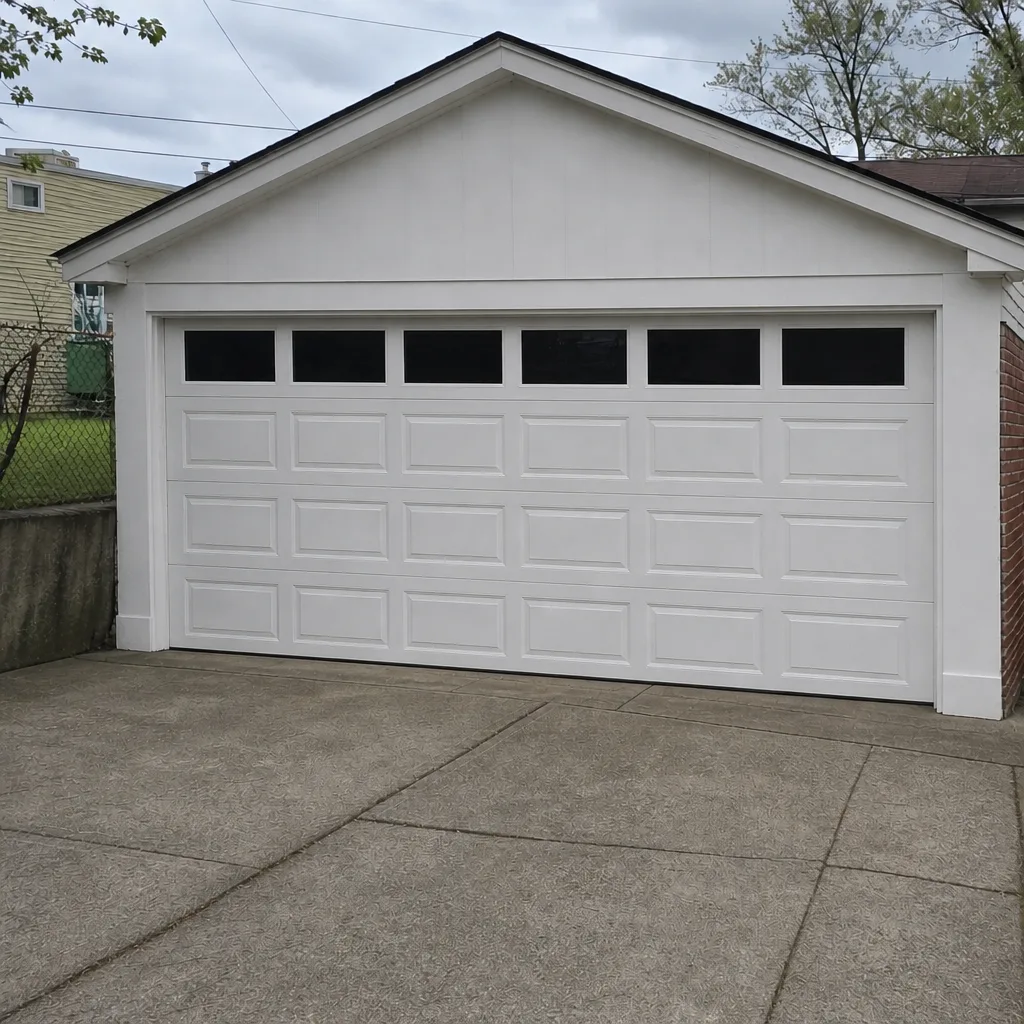 After
 Before
 After
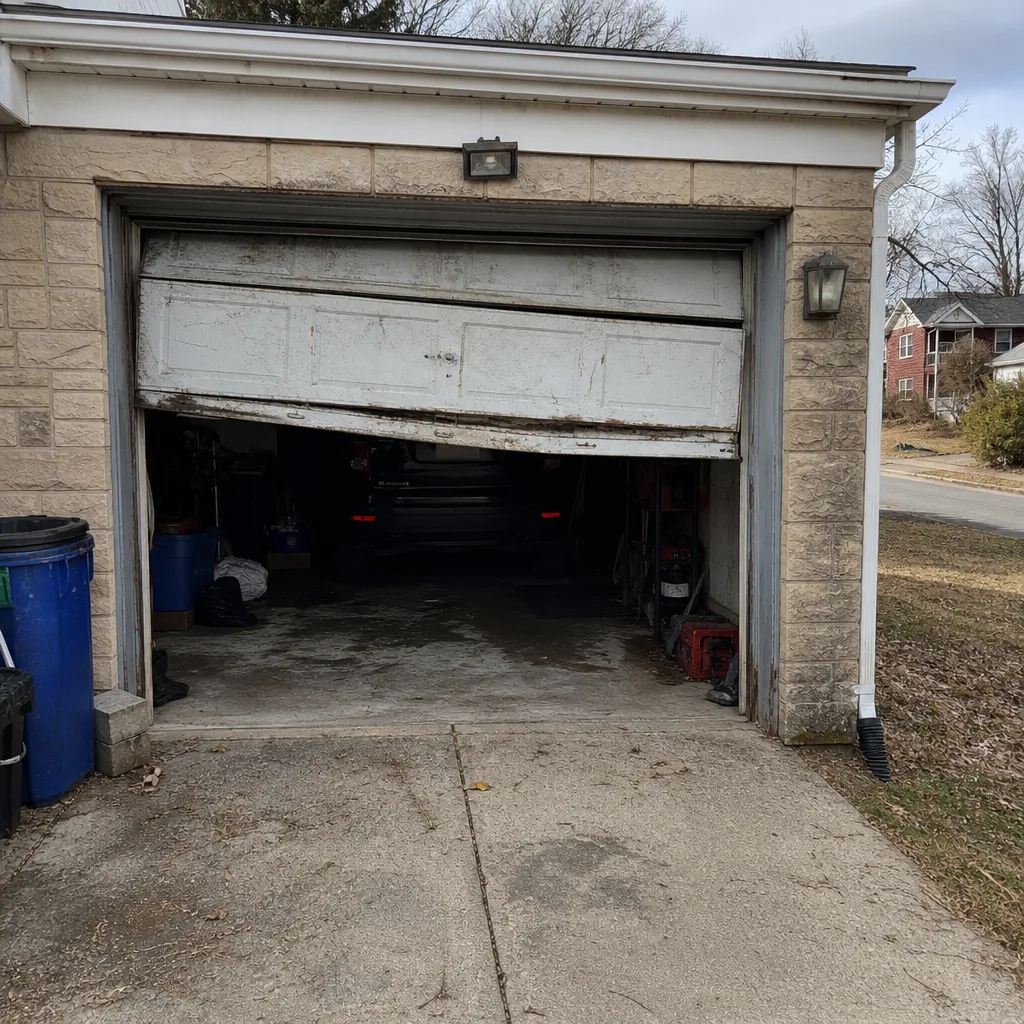 Before
 After
When to Call a Professional
Some tasks are maintenance; some are a job for a trained technician. Call us if you see a snapped spring, a frayed or slack cable, a door that drops on its own, a bottom bracket that looks loose, tracks that are bent or off their frame, or an opener that reverses unpredictably. Also call if your balance test fails badly or the door feels alarmingly heavy – that’s a spring problem you shouldn’t work around. Garage Door Repair Carrick offers free estimates in Carrick – call (833) 508-9951. We answer 24/7, with fast dispatch from 7am to 7pm, Sunday through Friday. Our technicians have up to 12 years of experience and work on LiftMaster, Chamberlain, Genie, Clopay, Amarr, Wayne Dalton, Craftsman, and Raynor systems. The price is quoted and agreed before any work starts, so you’ll know the cost upfront.
Frequently Asked Questions
Twice a year, timed to the seasons: late fall before cold weather and spring after the thaw. Those two checks cover lubrication, balance, cables, weatherstripping, and opener testing. A door that gets occasional heavy use may need a light mid-season touch-up on the springs and rollers. If you’ve had a lot of cold snaps, a quick balance test in January is worth the minute it takes.
A door that no longer holds its position during the balance test is the clearest early sign – it drifts down when you let go halfway up. Lifting the door by hand also tends to feel heavier than usual. Some people hear a sharp snap if the spring breaks suddenly. If your balance test shows weakness, book a spring repair before the spring fails completely. Call (833) 508-9951 for an exact quote – estimates are free.
No, and not for any reason – grease on the track collects grit and grinds against the rollers. Keep the track clean and dry. The parts that need grease are the springs and metal rollers, both with white lithium. If you’re not sure which roller type you have, look for shiny metal (grease it) versus a matte plastic look (leave it). If a track feels like it’s dragging after a cleaning, that’s a sign of bent track or worn rollers, not a lubrication problem.
No. Torsion springs store enormous energy, and adjusting, winding, or replacing them without the right tools and a safe winding protocol can cause serious injury. The balance test is safe to run, but leave the repair to a trained technician. Our technicians have up to 12 years of experience with spring and cable work, and we treat those as dedicated services rather than a side job.
It varies with sun exposure and how often the door runs, but the corners and side edges wear first. Inspect the bottom seal and side seals every spring and fall, and replace any seal that’s cracked, flattened, or letting light through at the corners. Match the profile to your door – a generic strip often leaves gaps. If you’re running a Clopay or Wayne Dalton door, use the seal intended for that panel.
Often it can be fixed. Force and limit settings out of adjustment, worn gears, or a failing logic board are common issues that a targeted repair resolves. Before replacing an opener, have it diagnosed – same door, fixed right. We work across LiftMaster, Chamberlain, Genie, and Craftsman systems, from basic units to app-connected models, so the fix is usually a repair rather than a full replacement.
The Bottom Line
The Carrick maintenance checklist that actually protects your door is ordered by failure risk, not by convenience. Lubricate springs and metal rollers before cold weather. Run the balance test twice a year to catch spring wear early. Inspect both ends of your cables, not just the drums. Keep grease off the tracks and match your weatherstripping to the correct profile. Leave every task that involves spring tension, cable tension, or the bottom bracket to a trained technician. Do those things and you’ll prevent most of the emergency calls we see. Store a little white lithium grease with your tools and put two dates on your calendar.
When your checklist turns up something that needs a professional’s eyes, call Garage Door Repair Carrick at (833) 508-9951 for a free estimate. We answer 24/7, with fast dispatch from 7am to 7pm, Sunday through Friday. The written estimate sets the price before work begins, so no surprises.
Written by the team at Garage Door Repair Carrick.