
Last updated November 21, 2026
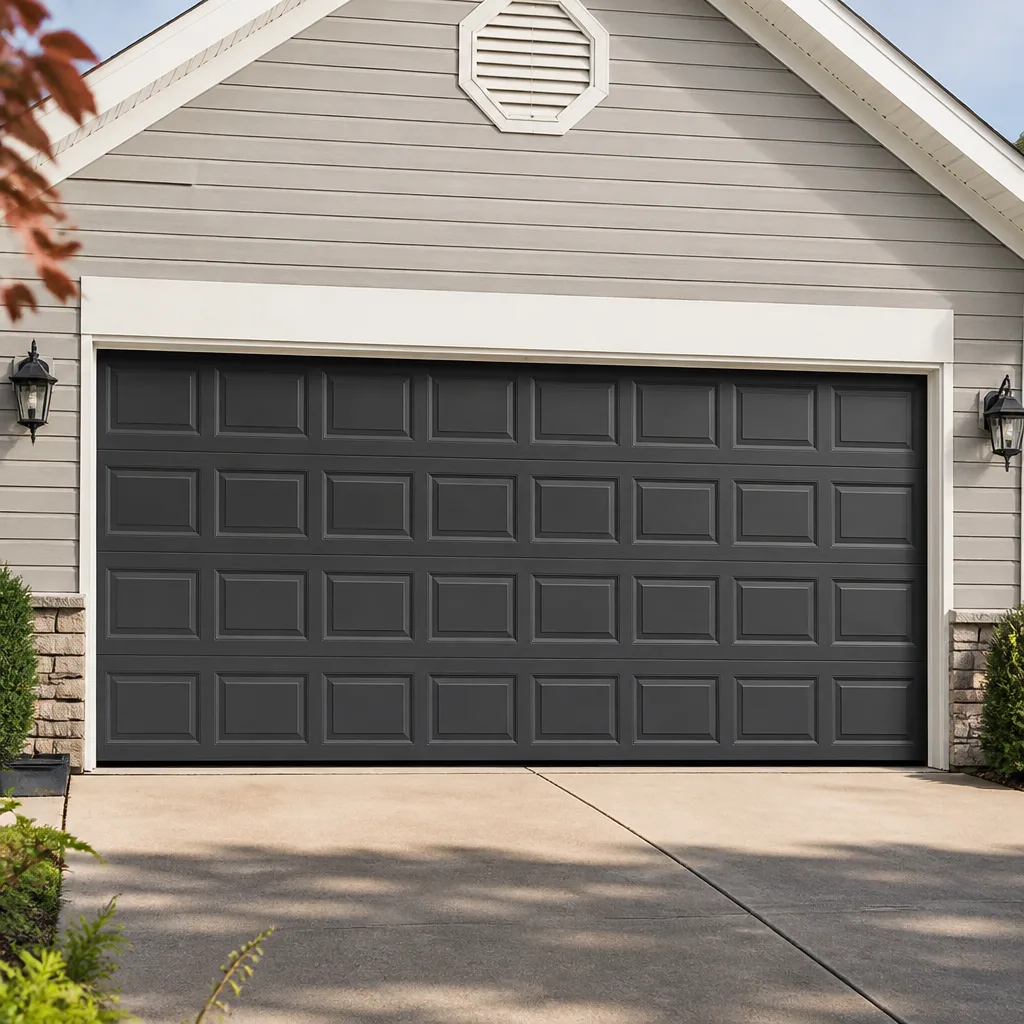 Raised-panel steel
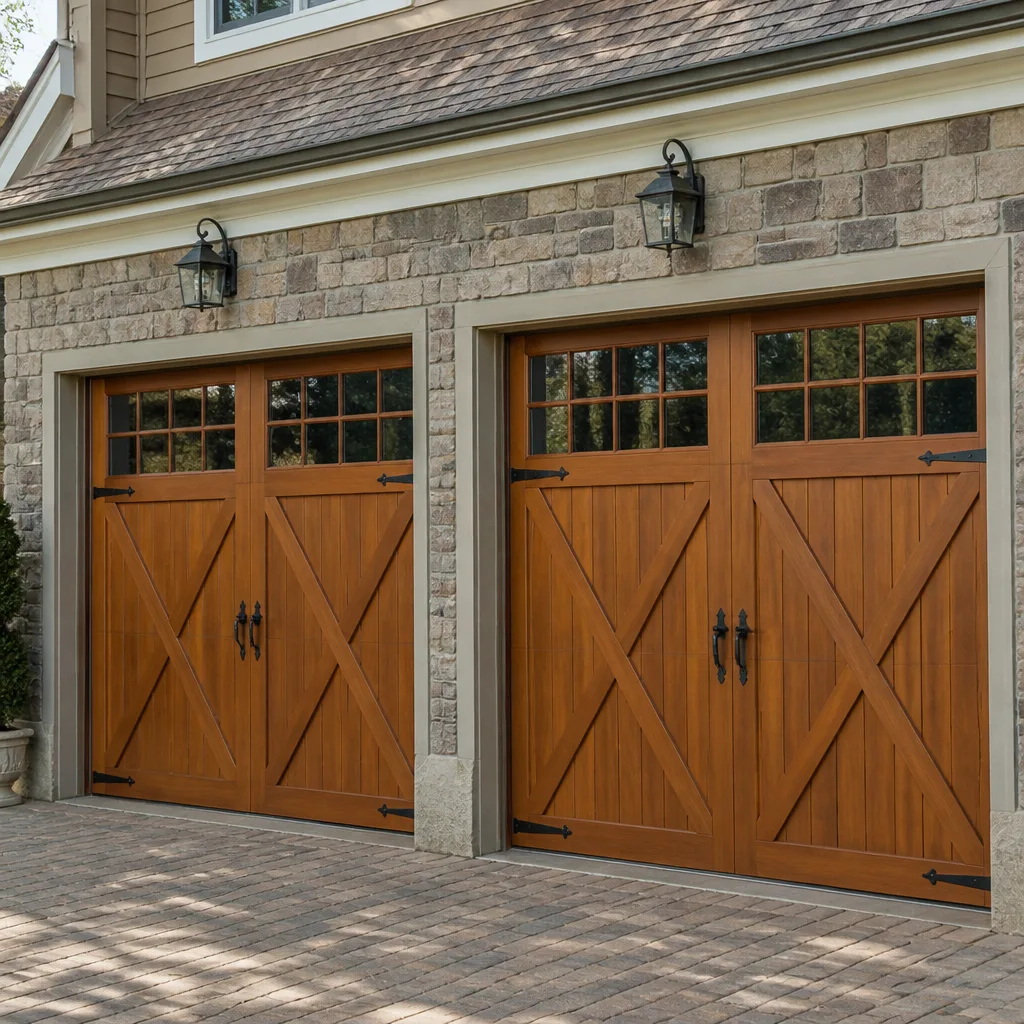 Carriage house
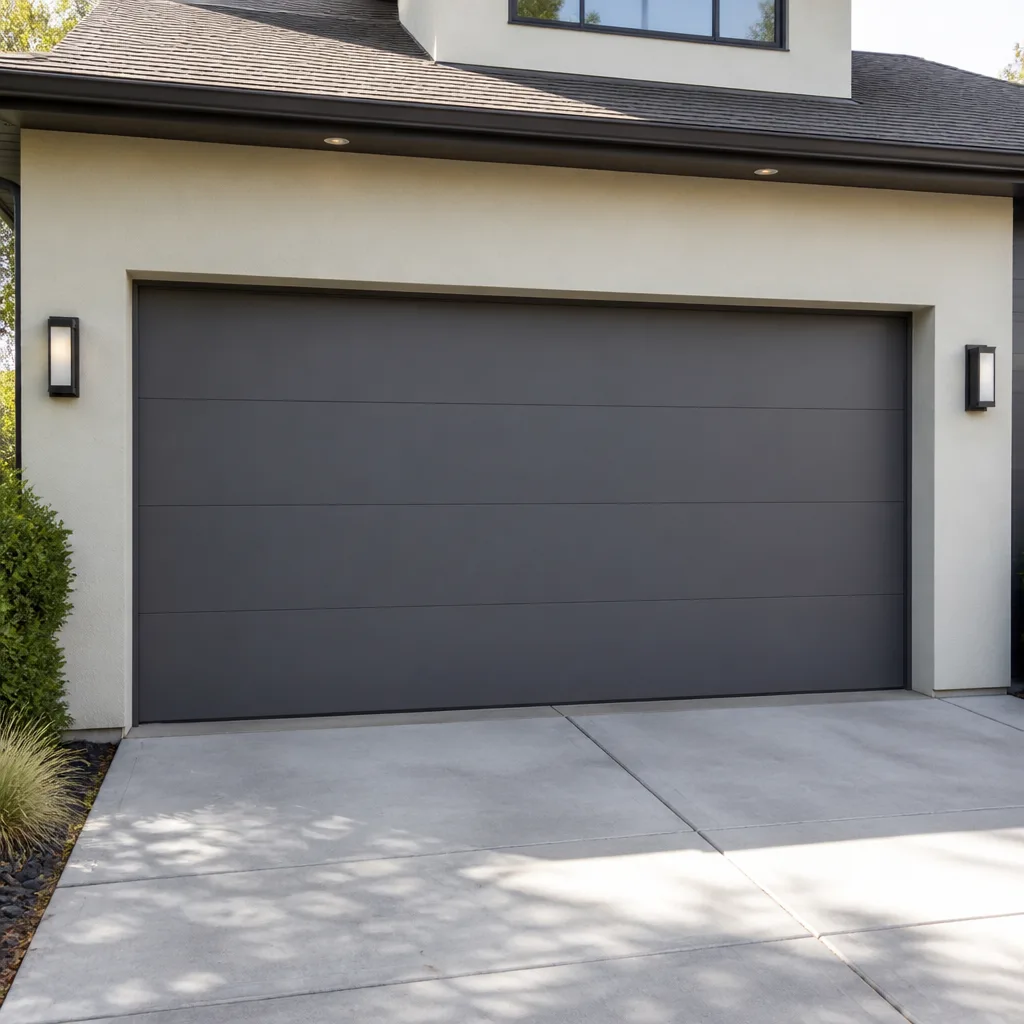 Modern flush
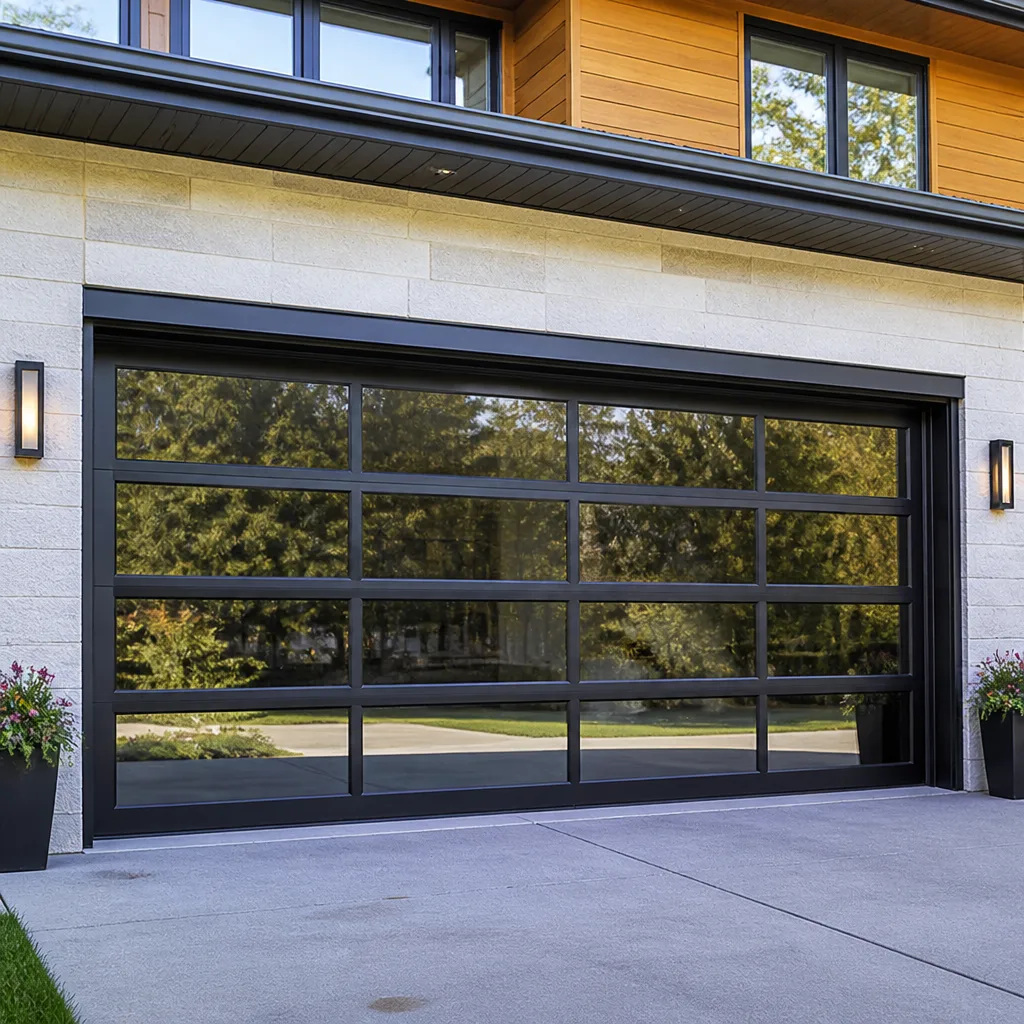 Full-view glass
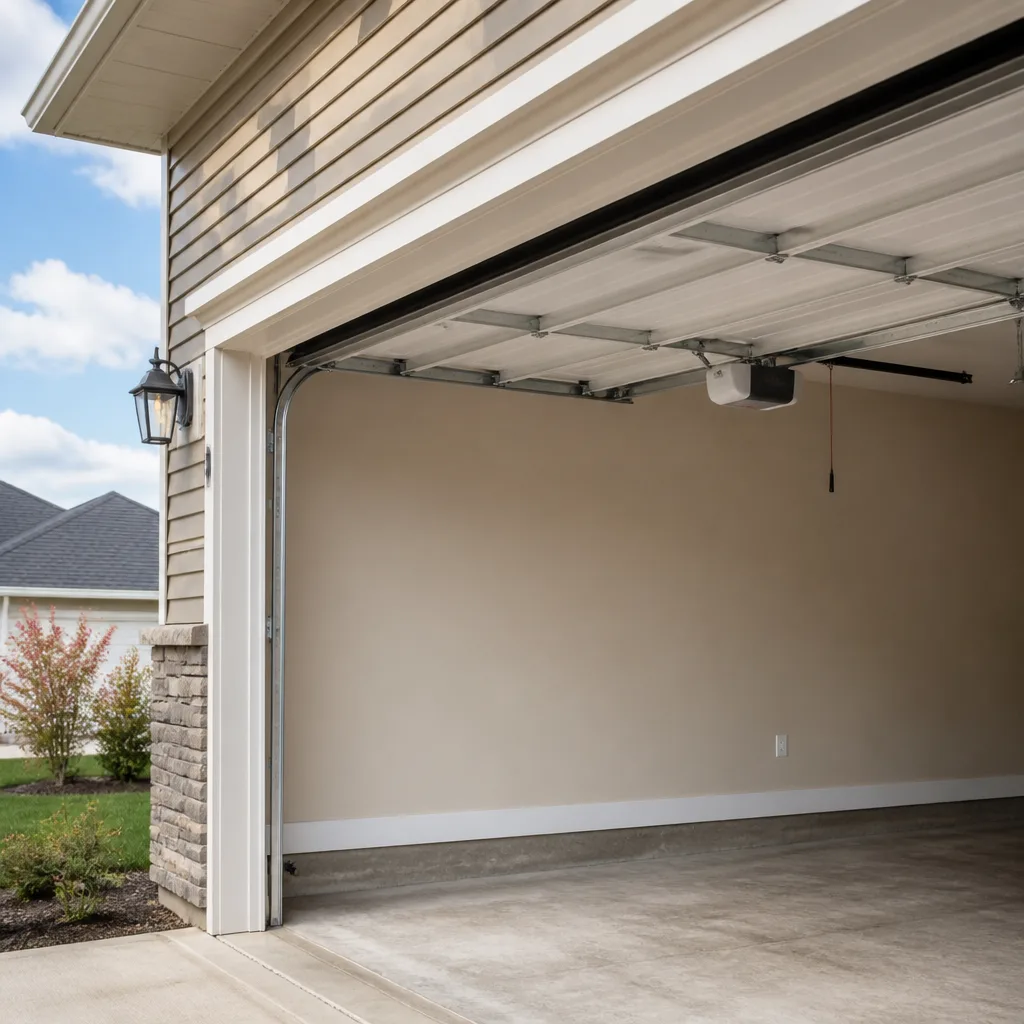 LiftMaster openers
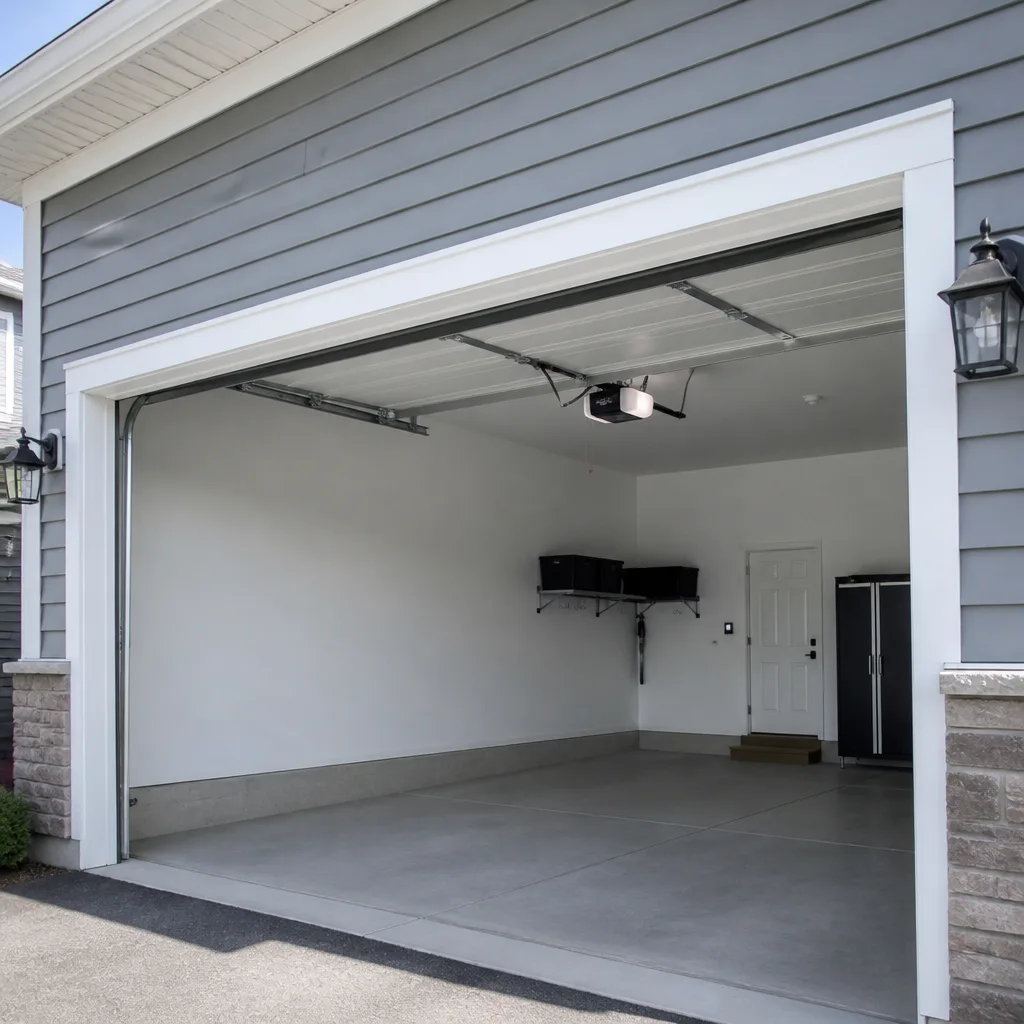 Chamberlain openers
Full 25-point door and opener safety check with every visit - springs, cables, rollers, tracks, and your LiftMaster or Chamberlain opener included
You get a price before we start. It does not change when the pro arrives.
Get your free estimateDIY vs Professional Garage Door: The Carrick Homeowner’s Decision Guide
Most homeowners assume the DIY-versus-professional question is about skill. It isn’t. It’s about consequences. A torsion spring holds enough stored energy to send a winding bar through drywall, and the physics of that stored energy doesn’t care how confident you felt watching a video. Yet plenty of garage door jobs in Carrick are genuinely straightforward: fresh weatherstripping, a squirt of lubricant, a sensor that got knocked crooked by a recycling bin. This guide draws the line clearly. You’ll learn which tasks are safe to handle yourself (and what tools each one actually demands), which are a hard no, and how a hybrid approach can save you real money on the jobs that sit in between.
Quick Answer
You can safely DIY garage door maintenance that doesn’t involve springs, cables, or the brackets they attach to: weatherstripping, lubrication, sensor alignment, and visual inspection. You should never DIY torsion or extension spring replacement, bottom bracket or cable work, or header lag replacement. Those involve stored tension that can cause serious injury in a fraction of a second. For everything in that second category, call a trained technician. That’s the whole answer, and the rest of this guide explains why the line falls there.
Styles & brands we work with
- Raised-panel steel
- Carriage house
- Modern flush
- Full-view glass
- LiftMaster openers
- Chamberlain openers
Table of Contents
- Why the DIY line falls where it does
- The homeowner-safe task list
- The never-DIY task list
- The tool and knowledge threshold for each safe task
- DIY opener installation: where you save and where you don’t
- What “I watched a video” gets wrong about spring work
- The smart hybrid approach
- How Carrick weather and housing shape the decision
Why the DIY line falls where it does
The dividing line between safe DIY and dangerous DIY isn’t complexity. It’s stored energy. A wound torsion spring holds tension equivalent to a heavy weight suspended eight feet up, and that energy stays locked in until it’s released in a controlled way. Everything on the dangerous side of the line shares that property: springs, cables under tension, and the bottom brackets that anchor the cable system. Everything on the safe side either has no stored energy or can only move slowly when it fails.
We see the same pattern again and again in Carrick. Homeowners who are perfectly capable with tools will call us for a spring and then ask, almost apologetically, whether they should have just done it themselves. The answer is no, and it has nothing to do with their ability. A torsion spring job done wrong fails instantly and violently. There’s no warning creak, no gradual give. The spring unwinds in a fraction of a second and whatever is in its path takes the hit.
The other half of the decision is liability and warranty. When a technician replaces a spring, the work is documented and the parts are traceable. When a homeowner replaces it and something fails six months later, the manufacturer has reason to question the install. On a new door with a warranty, that matters.
Think of it this way: the question isn’t “can I do this?” It’s “if this goes wrong, what’s the worst case?” For weatherstripping, the worst case is a crooked seal and a wasted afternoon. For a torsion spring, the worst case is a hospital visit.
The homeowner-safe task list
These are the jobs we actively encourage Carrick homeowners to handle themselves. They’re satisfying, they save a service call, and done correctly they genuinely extend the life of your door and opener.
- Weatherstripping replacement. The rubber or vinyl seal along the bottom and sides of the door. You’ll need the right profile measurement, a utility knife, and about an hour.
- Lubrication. Hinges, rollers, the track, and the opener’s rail. A garage door lubricant (not WD-40) applied a couple of times a year quiets the door and slows roller wear.
- Safety sensor alignment. The two small eyes near the floor. If the door reverses for no reason, a bumped or dirty sensor is usually the culprit.
- Visual inspection. Look for frayed cables, a sagging door, worn rollers, and gaps in the seal. Catching a problem early is free.
- Bracket and hardware tightening. Loose bolts on the track and hinges. Snug, not cranked down.
- Track cleaning. Wiping the track channels clear of grit and debris helps the rollers run smoothly.
Every one of these is a job where a mistake costs you time, not safety. If a roller is seized and won’t turn after lubrication, that’s the point to stop and call for garage door repair, because a seized roller usually means the track or the hinge has shifted, and forcing it does more harm than good.
The never-DIY task list
This list is short and absolute. These jobs involve components under stored tension, and there is no safe improvised method. We’re not being dramatic. This is exactly what the safety warnings on the packaging are about.
- Torsion spring replacement or adjustment. The horizontal spring above the door. This is the single most dangerous garage door task.
- Extension spring replacement. The springs running along the horizontal tracks. Same stored-energy problem, different geometry.
- Bottom bracket and cable work. The brackets at the bottom corners of the door hold the cables under tension. Loosening the wrong bolt can release the entire cable system.
- Header lag replacement. The lag bolts holding the door’s mounting to the frame above. If these are pulling out, the door’s structural anchor is compromised.
- Track realignment after impact. A bent track isn’t a bend-it-back job. The geometry has to be right or the door binds and the opener strains.
If your door has a snapped spring right now, do not try to open it manually to get the car out. A door with a broken spring is unbalanced and can come down hard. Call (833) 508-9951. We answer 24/7, and fast dispatch runs 7am to 7pm, Sunday through Friday. We offer a dedicated spring repair service for exactly this reason: it’s the job that most needs a trained hand, and we don’t hand it off.
The tool and knowledge threshold for each safe task
“You can do this” is only useful if you know what you actually need. Here’s the honest threshold for each safe job, so you can decide before you’re halfway up a ladder.
- Weatherstripping: Tape measure, utility knife with a fresh blade, a putty knife to lift the old seal, and the right replacement profile. The knowledge piece is measuring the door’s bead or groove size correctly. Get that wrong and the new seal won’t seat.
- Lubrication: A garage door lubricant spray, a rag, and a step stool. The knowledge piece is knowing which parts get lubricant (hinges, rollers, track, opener rail) and which don’t (the spring coil itself, unless the label says otherwise).
- Sensor alignment: A screwdriver, a rag, and a level or the sensor’s built-in indicator light. The knowledge piece is understanding that the sensors need to face each other at the same height and see a clear line between them.
- Visual inspection: No tools. Just a flashlight and a few minutes. The knowledge piece is knowing what “normal” looks like so you can spot what isn’t.
- Hardware tightening: A socket set and a wrench. The knowledge piece is knowing the difference between snug and overtightened. Over-tightening a hinge bolt can crack the hinge.
If you’re missing the right tool for one of these, that’s fine. That’s the point of a threshold. Spend the ten minutes reading the label and the twenty buying the right part. If the task turns out to be more than you expected (the old weatherstripping is glued down hard, the sensor brackets are bent), that’s your cue to book a technician rather than force it. A free estimate costs you nothing and a forced repair costs you plenty.
DIY opener installation: where you save and where you don’t
Opener replacement is the job where the DIY math actually gets interesting, because it’s the one that looks like a straightforward swap and sometimes is. The honest answer is that it depends on three things: whether you’re replacing like for like, whether the ceiling mount is already in the right place, and whether your home has the wiring in place.
Where you genuinely save: A chain-drive replacement of the same brand and rail length, in a house with an existing ceiling bracket and a standard outlet near the opener. If the new unit mounts on the same bracket and the rail aligns with the existing header bracket, this is a two-hour job with a helper and a ladder, and it saves the installation labor. Craftsman and Genie units are often the most forgiving here because the mounting patterns are familiar and the manuals are clear.
Where improper mounting costs you: A new opener isn’t a warranty claim waiting to happen if it’s installed to spec. It is if it isn’t. The common failures are mounting the unit to a ceiling with too few or too short lag screws, failing to reinforce the header bracket when the door’s weight has changed, or installing a belt-drive or smart unit on a rail that’s slightly out of level. Each of those can void a manufacturer’s warranty and each one shortens opener life. If the new door is heavier than the old one (a Clopay or Amarr steel door replacing an older wood door is a common example), a spring and opener combination install is a coordinated job, not a solo one.
Our advice: if you’re replacing an opener on a door that’s also being replaced, or the ceiling bracket is being moved, or you’re moving to a smart-home-integrated LiftMaster or Chamberlain system with app connectivity, have it installed. That’s not a safety issue, it’s a warranty and performance one. And if you want the opener and door handled together, garage door opener repair and replacement work alongside the door installation as one scheduled job, so everything is balanced and aligned at the end. For new door work specifically, call us for a free measure and a written price.
What “I watched a video” gets wrong about spring work
Torsion spring tutorials all skip the same handful of steps, and those skipped steps are the actual injury points. We’re not going to explain how to do the job, because the risk isn’t worth it. But it’s fair to tell you what the videos leave out, so the decision to call is an informed one.
- The winding bar count. A torsion spring isn’t wound in one motion. It’s wound in quarter-turn increments with a bar that has to be held safely between pulls. Most short tutorials show one or two turns and skip the counting. The spring needs a specific number of turns to balance the door, and getting the count wrong is how doors slam or lift too much.
- The second winding bar. You need two bars, not one, to hold tension between moves. Tutorials that show a single bar are showing a method that assumes the spring will wait for you. It won’t.
- The lock-out. Before any spring work, the door is supposed to be in the fully down position and the opener disconnected so the door can’t move. Tutorials often skip this because it’s tedious to film. It’s not tedious when a door moves unexpectedly.
- Emergency release state. The release cord has to be functional and the door locked out so the opener can’t be triggered by a remote still in someone’s pocket. It happens more than people expect.
- The bracket tension check. A torsion system’s mounting plate is under load. If the lag bolts are loose or the plate is bent, the whole system has to be re-anchored before a new spring goes in. Most videos assume a sound mounting plate.
- Spring match. A replacement spring has to match the original’s wire gauge, inside diameter, and length, or the door’s balance changes. “Order the same color” isn’t a reliable part number.
None of that is a knock on the person filming. It’s a knock on the format. A fifteen-minute video can’t show the feel of a winding bar stopping short, the fraction of a second where the bar has to be seated fully, or the moment a worn spring gives way. In Carrick, we’ve seen the aftermath of those missing steps enough times to be firm about it: the stored energy in a torsion system doesn’t care how careful you are, only whether the tool and the procedure are right, and the procedure is the part the videos leave out.
The smart hybrid approach
Here’s the option that doesn’t get talked about enough: split the job. You do the diagnostics and prep, and a technician does the one high-risk component. It saves money on both ends and it’s how we handle a lot of Carrick homes.
Step one is yours. Walk the door and note the symptoms: does it lift evenly, does the opener reverse for no reason, is there a gap at the bottom on one side, is the door noticeably heavier on one side than the other. Take a photo of the model plate on the opener. Measure the door’s width and height. Note the brand of the door if you can find it. That information is the difference between a technician arriving prepared and arriving to diagnose from scratch.
Step two is the phone call. Tell us what you found. If it’s a sensor or a weatherstripping swap you want to do yourself, we’ll tell you the part to get and you’ll be on your way. If it’s a spring or a cable, we book the work. Because you did the diagnosis, the technician doesn’t have to spend a visit chasing the symptom, and that shows up in the estimate.
Step three is the part that matters. The high-risk component gets done by a trained hand, and the low-risk tasks stay on your list. You’ve still done the lion’s share of the work. You’ve just skipped the part with the stored tension. If the door needs a full replacement, that’s the point to schedule a measure rather than a repair, and we cover that under garage door installation.
We’ve found the hybrid approach works especially well for property managers who handle several units. A routine inspection that turns up one worn spring doesn’t need a full-service visit for every door. It needs a clear diagnosis and one scheduled component repair.
How Carrick weather and housing shape the decision
Carrick’s housing stock is mostly older: brick and frame homes with original or early-replacement wood and steel doors, and a lot of them with tracks that have been through decades of Pittsburgh-area temperature swings. The freeze-thaw cycle matters more than most homeowners realize. A steel door expands and contracts with the temperature, and a seal that was tight in October can develop a gap by January. The bottom seal and side weatherstripping are your first line of defense against both drafts and moisture, and they’re both homeowner-safe DIY tasks. That’s a job Carrick homeowners should plan to check every fall, before the first hard freeze.
The other local factor is door age. In Carrick, it’s common to run into doors from the 1990s that are still on their original springs, with original openers to match. Those openers are often Craftsman chain-drives from the chain-driven era, and the parts are still available but the mounting hardware has aged. When a Carrick homeowner calls about a door that’s suddenly noisy or slow, the cause is often a combination of a stretched spring and a worn opener gear rather than one single failure. That’s the kind of diagnosis a trained hand catches in one visit, and it’s why we keep the brand scope wide.
We work on LiftMaster, Chamberlain, Genie, Clopay, Amarr, Wayne Dalton, Craftsman, and Raynor systems, which means we’re not filtering your door through a single-brand toolkit. If your Carrick home has an older Wayne Dalton door with a Genie opener, that’s a system we see regularly and can diagnose without a parts chase. Parts supply is the other piece. We stock and supply garage door parts directly, which cuts the “we’ll have to order that” delay that smaller operators run into on common repairs.
If a door fails on a Saturday, note it and call. We’re closed Saturdays. A call outside dispatch hours is booked into the next opening, Sunday through Friday, 7am to 7pm.
Common Mistakes to Avoid
- Using the wrong lubricant. WD-40 and general-purpose oils attract grit and gum up the track. A garage door lubricant is formulated for the load and the temperature range. In a Carrick winter, the difference shows up fast.
- Forcing a door with a broken spring. A door with a snapped spring is unbalanced. It can come down hard on a person or a car. Don’t prop it and don’t try to lift it manually; call for spring work.
- Buying a spring by color alone. Spring color codes vary by manufacturer, and a color match without matching wire gauge, inside diameter, and length leaves the door unbalanced. Measure the door and let the technician match the spring.
- Overtightening track bolts. Snug is correct. Cranking a track bolt can bend the track and throw the door’s alignment off, which turns a ten-minute job into a real repair.
- Ignoring a frayed cable. A cable with broken strands is a warning, not a cosmetic issue. It’s on the never-DIY list for a reason: cables are under tension even when the door looks at rest.
- Mounting a new opener without checking the header bracket. A heavier door or a different opener can shift the load on the header, and an under-spec bracket is the fastest way to an opener problem that a warranty won’t cover.
- Skipping the annual visual check. Most serious garage door failures announce themselves first as a worn roller, a loose hinge, or a small gap in the seal. A five-minute check every fall catches them while they’re still small.
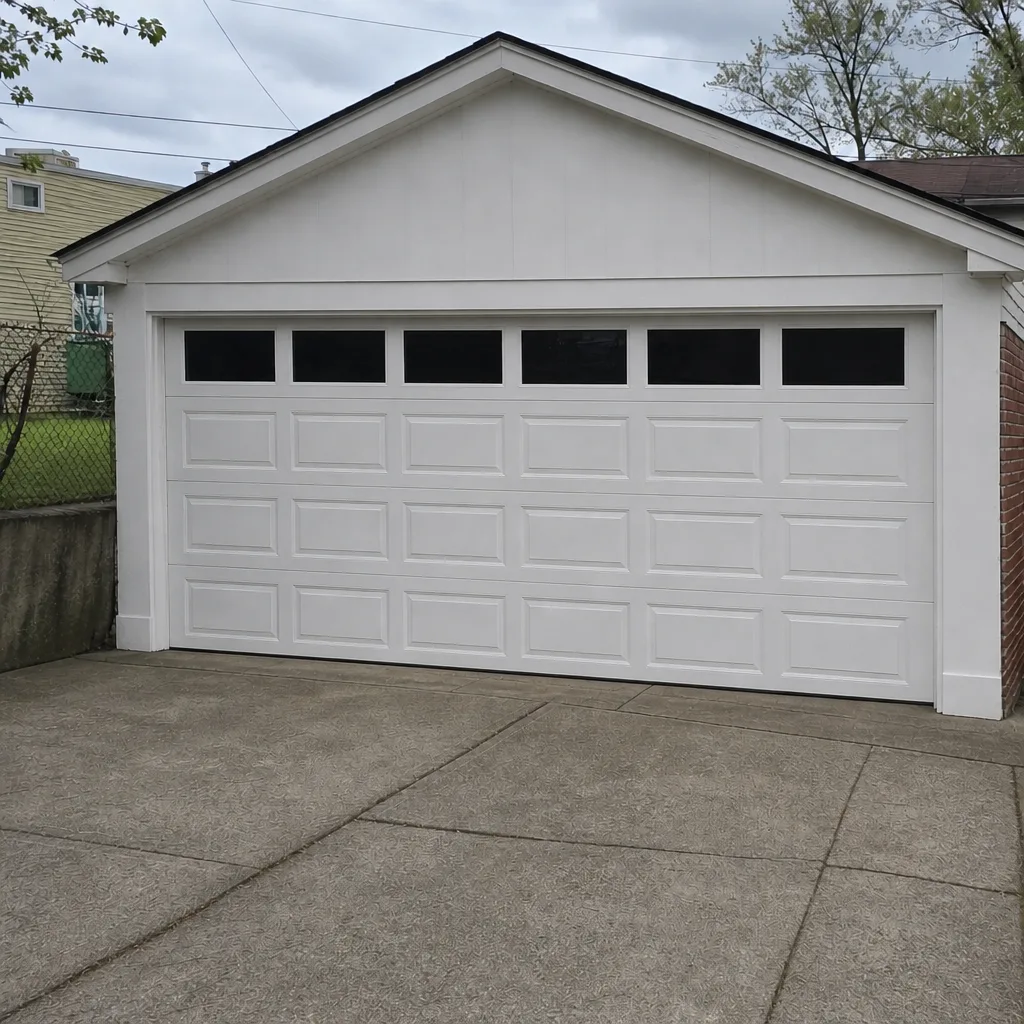
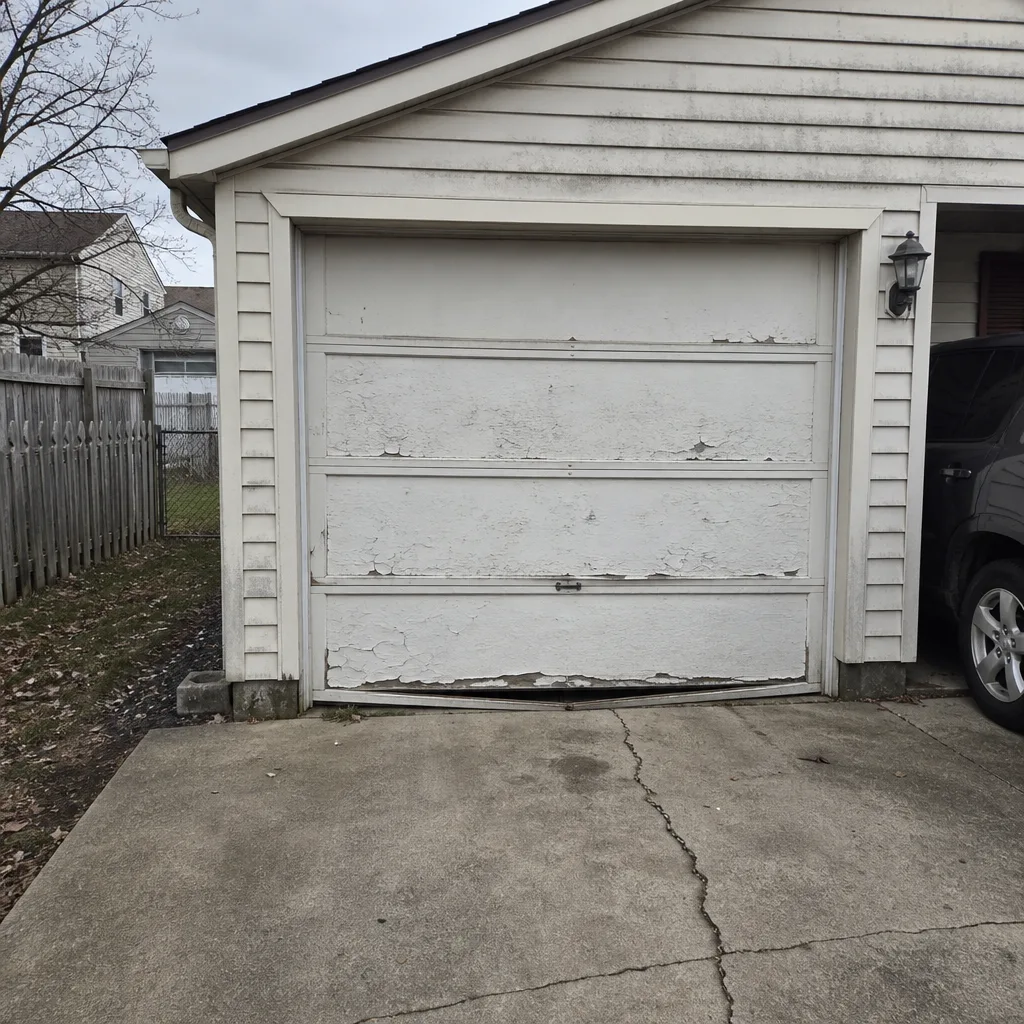
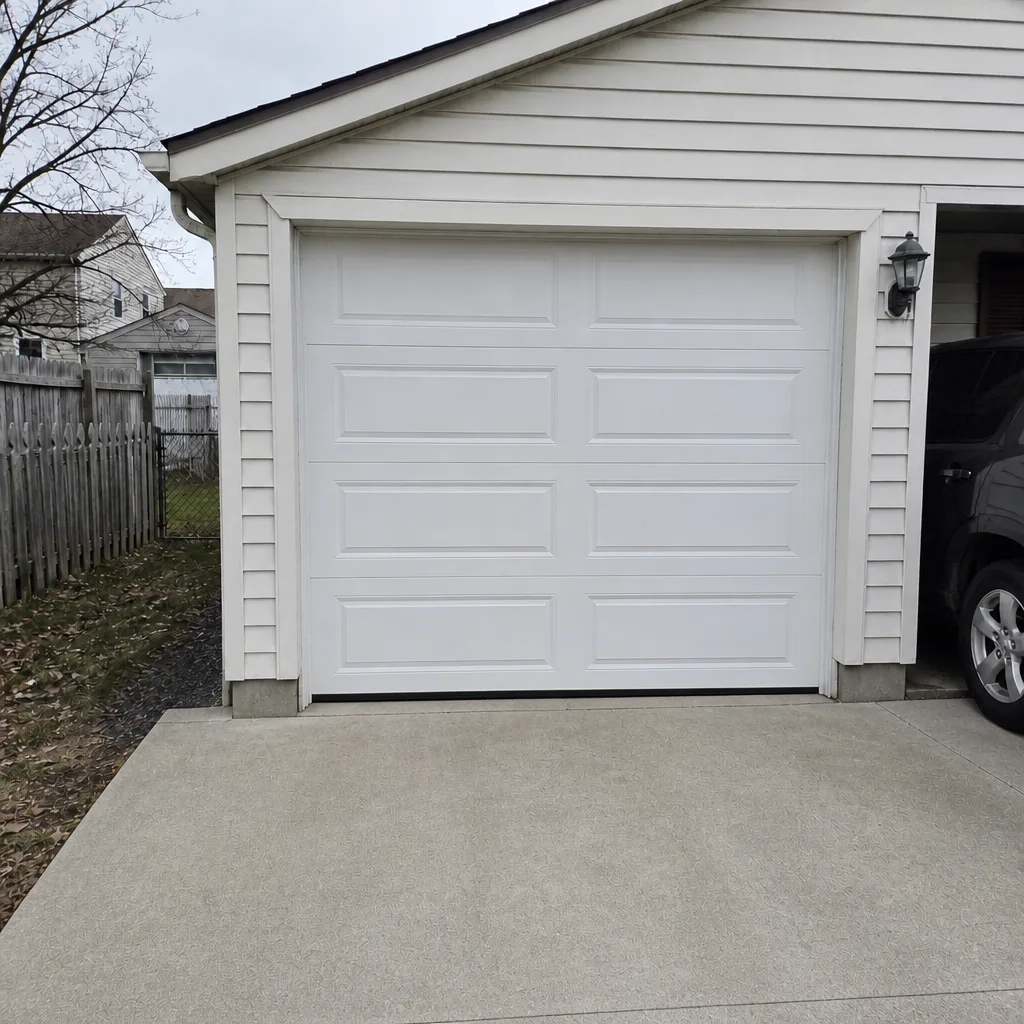
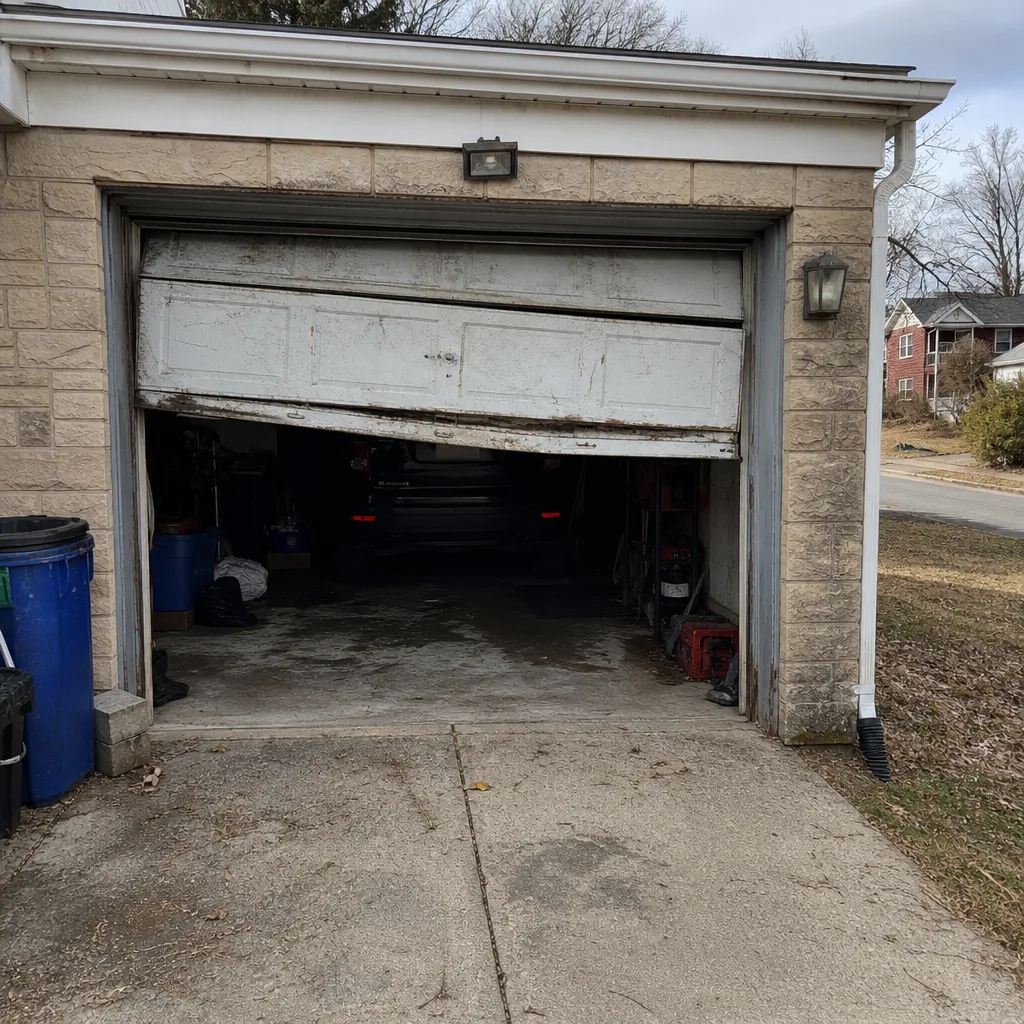
See the difference
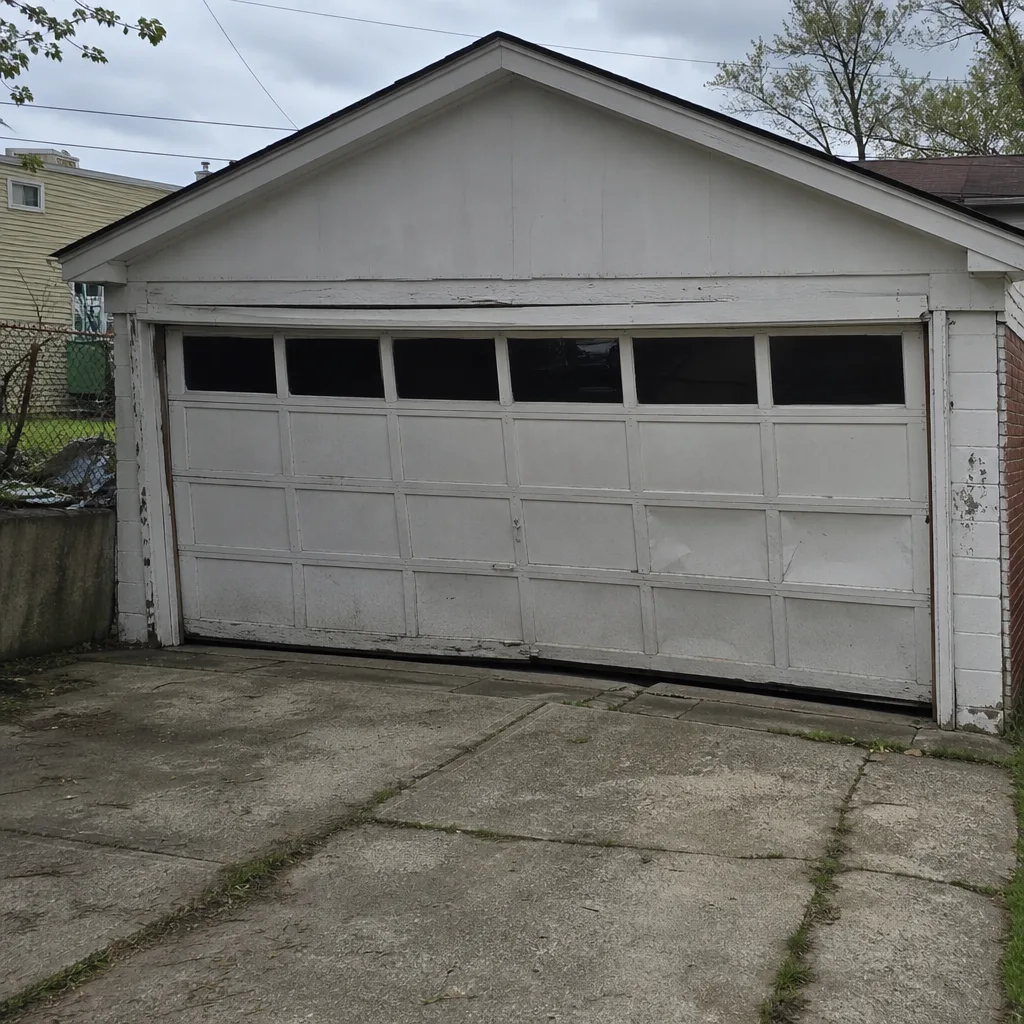 Before
 After
 Before
 After
 Before
 After
When to Call a Professional
Call a professional for any spring work, any cable or bottom bracket work, and any situation where the door’s mounting or track has shifted. Call if the door reverses for no reason after you’ve cleaned and realigned the sensors. Call if the door lifts unevenly, if it’s noticeably heavier on one side, or if the opener strains or makes a grinding noise. Call if you hear a loud bang from the garage and find the door won’t lift: that’s a snapped spring, and it’s a same-day repair call. Call if the door has been hit and the track is bent, and call if a door from the 1990s is on original hardware and starting to show its age.
Garage Door Repair Carrick offers free estimates in Carrick, and the price is quoted and agreed before any work starts. Call (833) 508-9951. We answer 24/7. Fast dispatch from 7am to 7pm, Sunday through Friday. Our technicians have up to 12 years of experience, and they’ll tell you if a repair will do the job rather than pushing a replacement.
Frequently Asked Questions
No. Torsion and extension springs are under stored tension that can cause serious injury in a fraction of a second, and there’s no safe improvised method for the job. A trained technician has the winding bars, the lock-out procedure, and the spring-matching knowledge to do it correctly. Call (833) 508-9951 for a free estimate.
Weatherstripping replacement, lubrication, safety sensor alignment, visual inspection, hardware tightening, and track cleaning are all safe for a homeowner with basic tools. None of them involve components under stored tension. If a job involves a spring, a cable, a bottom bracket, or the header lags, it’s a professional job.
It’s cheaper only in a specific case: replacing a same-brand, same-rail opener in a home where the ceiling bracket and wiring are already in place. If you’re changing brands, moving the bracket, installing a heavier door at the same time, or moving to a smart-home system, improper mounting can void the manufacturer’s warranty and cost more than the labor saved. Call (833) 508-9951 for a free estimate before you buy.
The written estimate sets the price, and it’s quoted and agreed before any work starts. Age and condition affect which parts are needed, not the rate for showing up. Ask for the estimate in writing and confirm what’s included. Call (833) 508-9951 for a free estimate.
We work on LiftMaster, Chamberlain, Genie, Clopay, Amarr, Wayne Dalton, Craftsman, and Raynor systems, so most Carrick doors are covered without a brand-specific referral. Our technicians have up to 12 years of experience across those systems. If you’re not sure what brand you have, send a photo of the opener plate and we’ll tell you.
A single failed component (a spring, an opener, a panel, a set of rollers) is a repair, and a repair is the right answer most of the time. Replacement makes sense when the door’s panels are damaged or rusted through, when the mounting or track has shifted structurally, or when several systems are failing at once on an older door. Call (833) 508-9951 and we’ll give you an honest read before you decide.
The Bottom Line
The DIY versus professional question isn’t about how handy you are. It’s about stored energy. Weatherstripping, lubrication, sensor alignment, and visual inspection are yours to do, and doing them regularly keeps a door healthier and quieter. Springs, cables, bottom brackets, and header lag work belong to a trained technician, not because homeowners aren’t capable, but because the failure mode is violent and immediate. The hybrid approach is the practical middle: you diagnose and prep, we handle the high-risk component, and both ends save time and money. For the safe jobs, we’ll happily tell you what part to buy. For the rest, call (833) 508-9951 for a free estimate. We answer 24/7. Fast dispatch from 7am to 7pm, Sunday through Friday.
Written by the team at Garage Door Repair Carrick.